


How to Change a Pull Tape on Your BSO
One or more of your traction tapes are badly damaged, even making it completely unusable to use your BSO or worse, they have broken?! Don't worry !
Here, we explain step by step how to replace your lifting tapes
First of all, you have 2 options for the preparation , in order to change the ribbons of a BSO:
- Leave the BSO attached (possible on small models)
- Place the BSO on the ground to carry out the repair on the ground (large models)
Depending on the option chosen, you will therefore be able to start replacing your "traction", "lifting" or "lifting" ribbons (it's the same thing).
Where to buy lift tapes?
All the spare parts for external venetian blinds are available on our site. To allow you to repair quickly, most are in stock, which allows you to receive them within 24 hours if you select Chronopost.
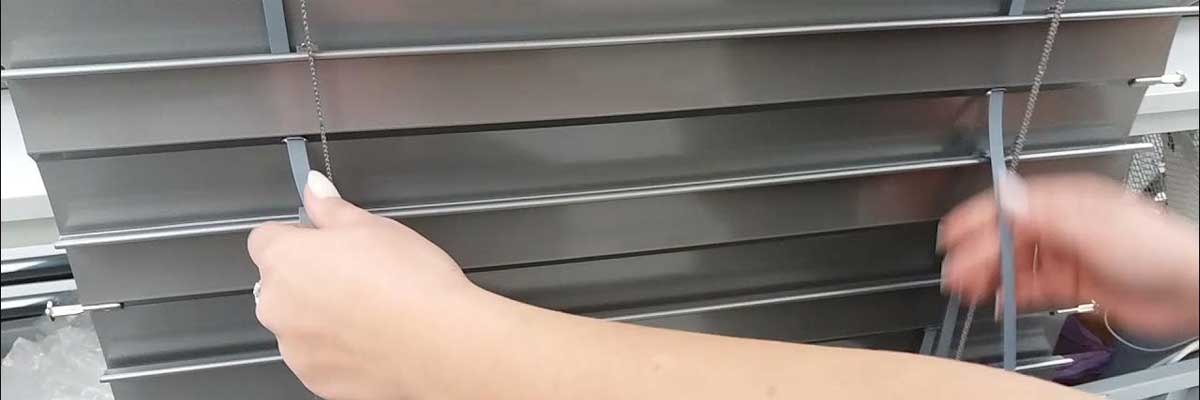
Step 1: Uncoupling the slats of your exterior blind
First, separate your blades from the BSO, from the motor shaft.
To do this, you must pull on the strings at the top to unclip the ball that holds the pack of blades.
Please note: there is a special feature for large blinds : you have to wedge the slat package if you do not put the blind down. Indeed, the weight of the blades can prevent you from unclipping the balls.
Also, be sure to strap the pack of slats at the top and wedge it underneath to limit and support its weight.
Once separated, lower the pack of blades in the lower part, with the motor (for large models. It is better to be several!)
Step 2: Opening the lower load bar
You must then open the load bar (last slat of the adjustable sunscreen).
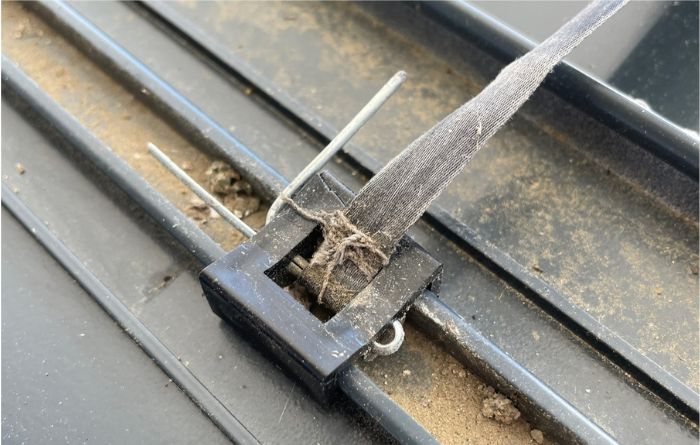
Step 3: Remove the pin
Next you will remove the pin. This will release the ribbon.
Step 4: Remove the blue tenon from the retractor
Remove the blue tenon that holds the lifting tape at the top of the reels.
To do this, you need to push it outward.
Be careful not to break it!
Step 5: Set the motor to low limit settings to unroll the blind slats
Arrived here, we will reactivate the engine. Before, be sure to set it in "low limit switch" mode.
Thanks to this mode, we will be able to unroll all the traction tapes, all the way to the bottom.
If you have any doubts about the procedure, refer to the motor instructions for your blinds to adjust the "low limit switches" (RTS, IO, GEIGER motors).
Step 6: Sew a loop at the end of your ribbons
Take the measurement of the ribbon(s) to be changed and do a little sewing to create a small loop at the end of the ribbon.
Attention: the length of all the ribbons must be identical.
your ribbons" class="radius" src="https://lacentrale-eco.com/images/blog/Article_ruban_de_traction/Photo-5-ruban-de-traction.jpg?1663928553704" type="image" />
Step 7: Replace the ribbon
Reinsert the ribbon into the reel/pulley and put the blue tenon back into the loop.
Be careful to respect the winding direction of the ribbon.
Step 8: Replace the ribbons
Pass the ribbon through the holes in the slats and make sure that it is not twisted.
Step 9: Put the ribbon and the pin back in the load bar
Pass the ribbon through the bottom load bar, then replace the pin.
If the plastic clips are broken, do not hesitate to change them.
Tip: you can slip the ribbon through one or more washers and then block it by putting a pin in the loop of the ribbon.
Step 10: Put the blades back in place
At this point, you put the pack of blades back in place, clipping the balls
Step 11: Adjust your blind and clip the bottom load bar to finalize
Once the blind is adjusted, you can clip the bottom load bar.
For the adjustment of your blades, refer to our article: " Adjusting the blades of your BSO horizontally ".
We wish you a good installation.


